 House of AnandaMovement · Stillness · Wisdom · Journey
Lesson 1 of 14 · Yoga & anatomy
Alignment & adjustments
Build a foundation you can feel.
Verbal, visual and hands-on guidance; props; the feet and palms; and what alignment can realistically offer.
01 · Study
What is alignment for?
Your notes describe alignment as a way to maximise the benefits of āsana and minimise the risk of injury. A useful working definition is how the parts of the body relate to one another, the support surface and the task being practised.
Alignment can help make a movement understandable and manageable. It cannot guarantee that a pose is safe for every person. Range, strength, fatigue, previous injury, load and the way a pose is entered all matter. A familiar-looking shape may need a different stance or support in another body.
Further reading: NCCIH · Yoga effectiveness and safety ↗
02 · Study
Three ways to guide a pose
| Method in the notes | What it means | Example |
|---|---|---|
| Verbal | Spoken instructions and questions | Try a little more space between the feet. Does that feel steadier? |
| Visual | Demonstrating a movement or showing a reference | Show a bent-knee forward fold as well as the straighter-leg version. |
| Hands-on | A teacher uses touch to communicate | Explain the proposed touch and ask for specific permission before making contact. |
03 · Study
Props are another teaching tool
The notes add props beside the three methods. A block changes the distance to the floor, a strap extends reach, a wall offers support and a chair can reduce balance demands. The useful question is what the prop makes possible, not whether it makes a posture look more advanced.
- Choose a stable prop and surface before loading it.
- Change one thing at a time so its effect is clear.
- Keep enough ease to breathe and leave the position under control.
04 · Study
Grounding through the feet
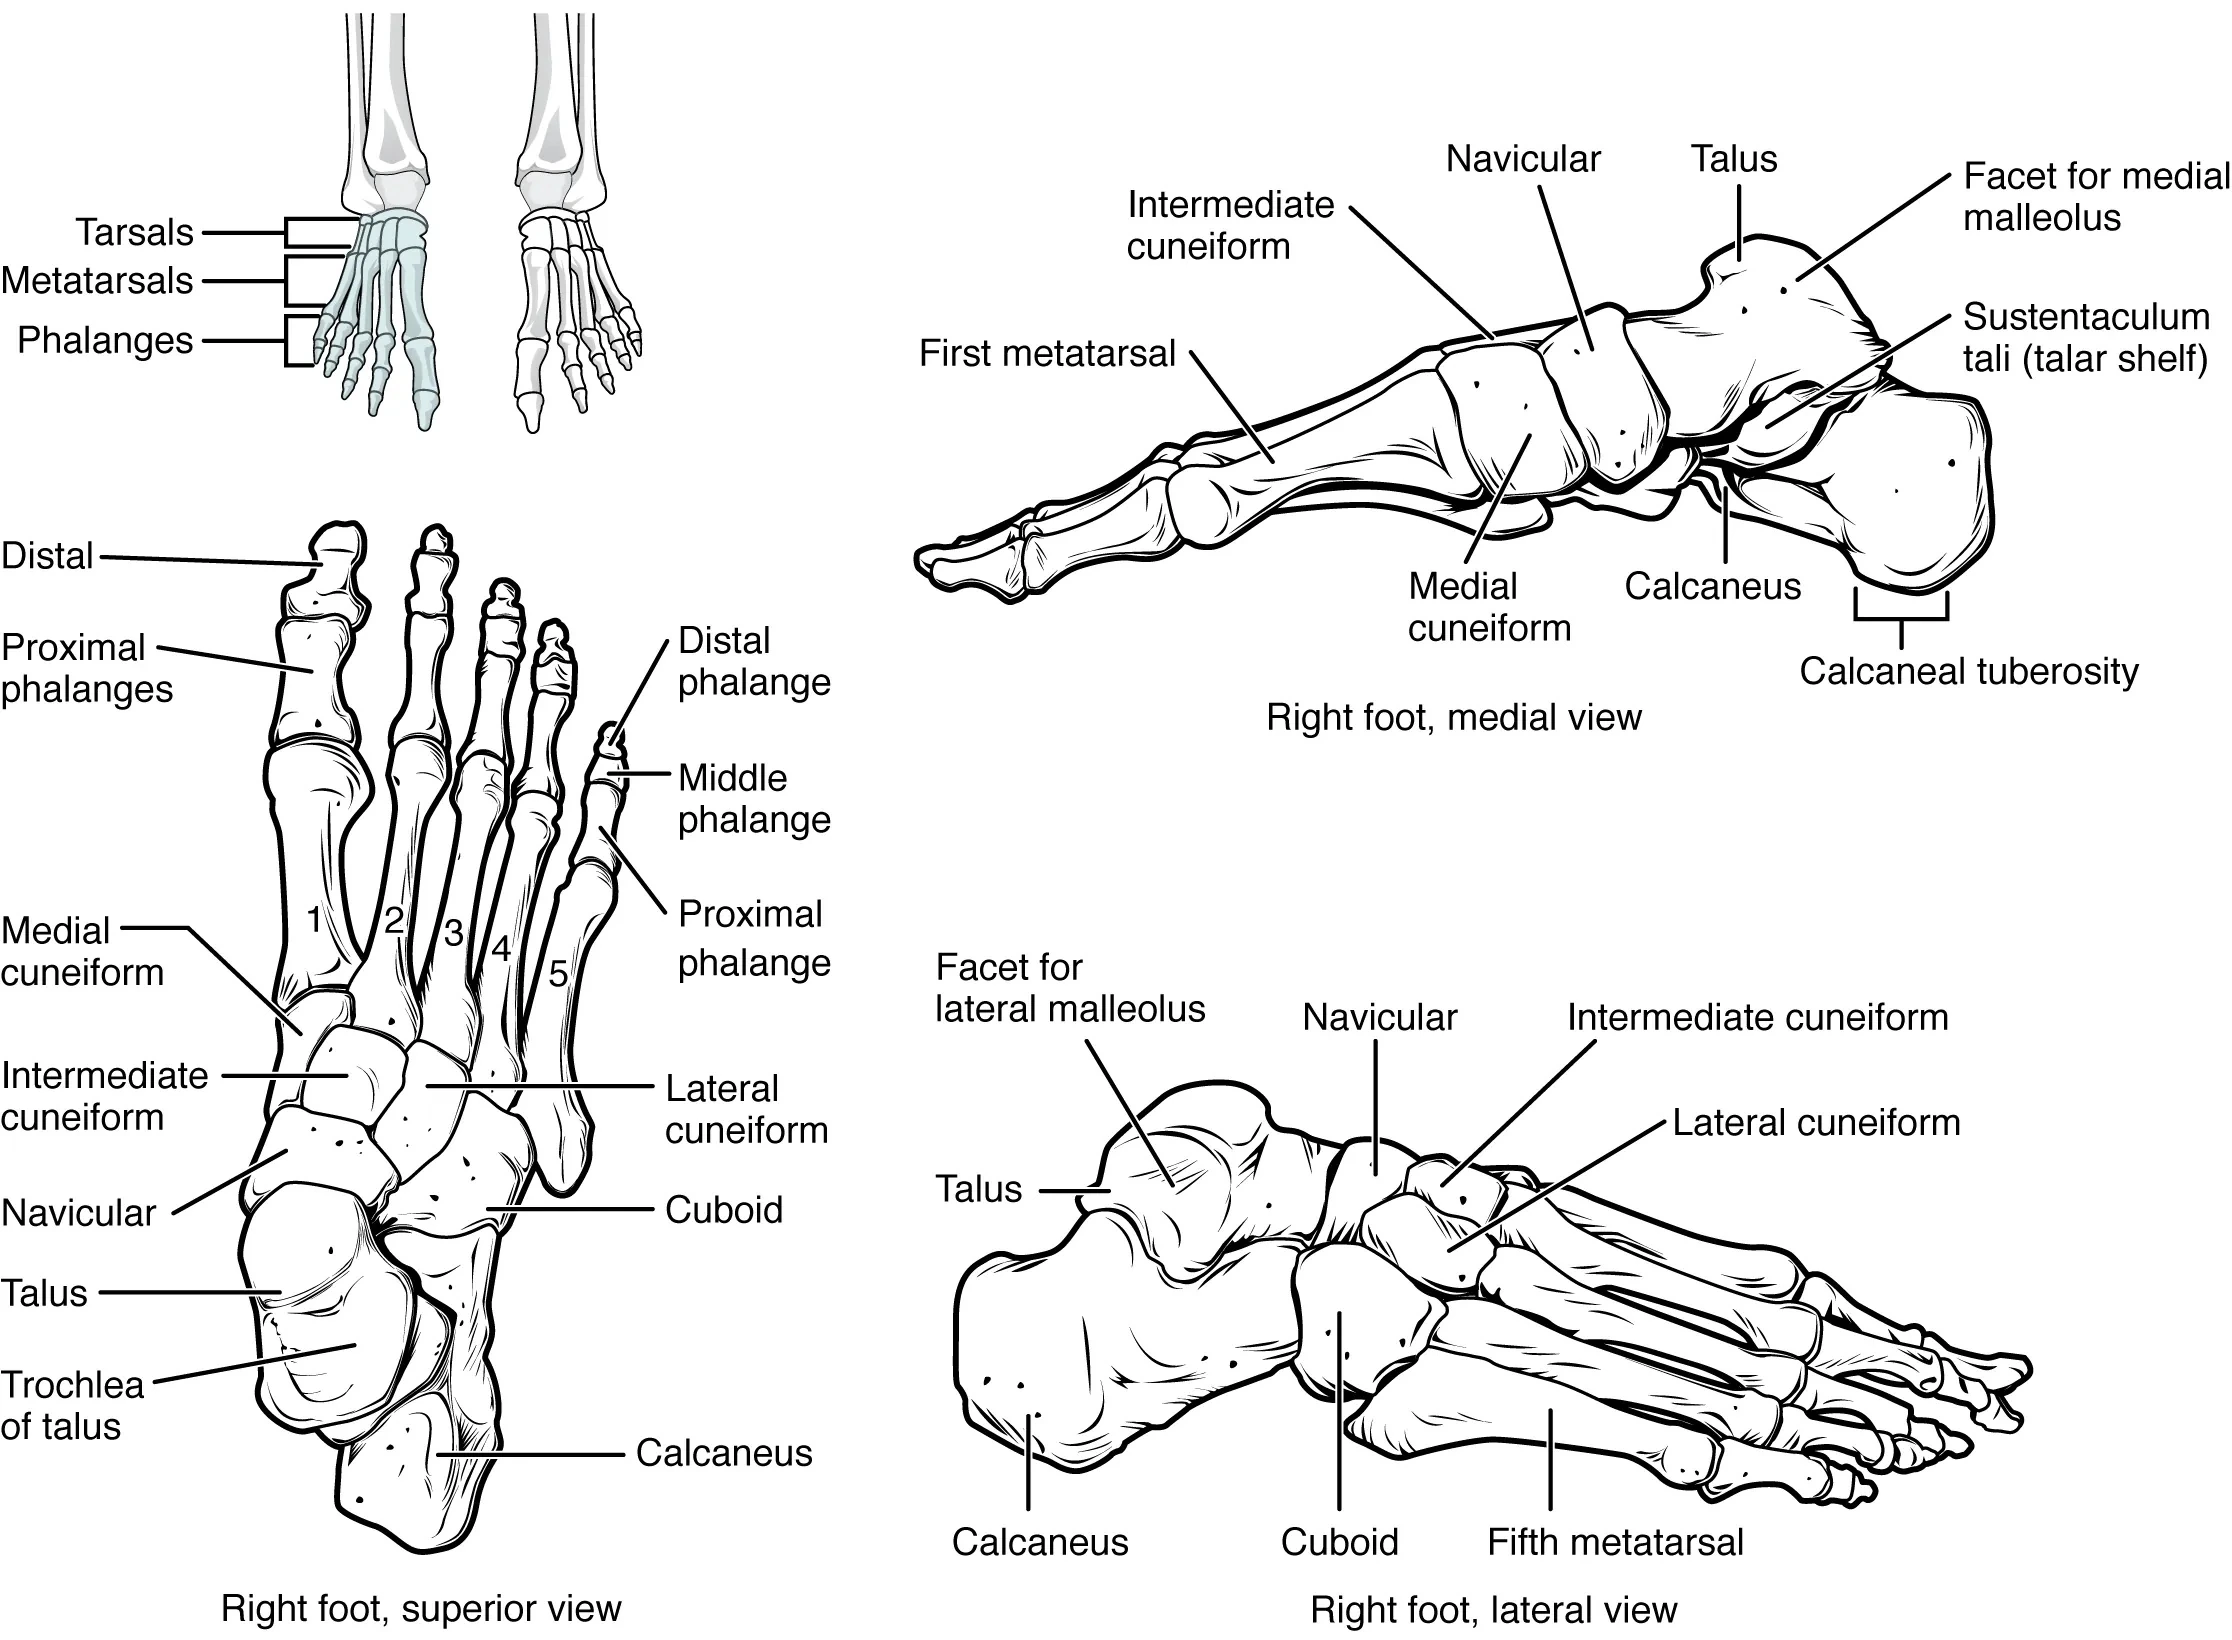
The sketch identifies the big-toe side, little-toe side and heel. In standing practice these are often taught as a three-point or tripod awareness cue: the base of the big toe, the base of the little toe and the heel.
Notice these areas while keeping the toes available rather than clawing the mat. The foot is a flexible structure, not a rigid triangle; pressure shifts with the pose. Do not force precisely equal weight into every point.
| Awareness point | Learning cue |
|---|---|
| Base of the big toe | Notice whether the inner forefoot stays connected. |
| Base of the little toe | Notice the outer forefoot without rolling onto its edge. |
| Heel | Allow the rear of the foot to share the support. |
05 · Study
Sharing load through the hands
Your palm notes name the index finger, little finger and thumb. Read them as reminders to notice the whole hand. In hands-and-knees positions, spread the fingers comfortably and explore contact across the palm and finger bases instead of sinking all pressure into the heel of the hand.
A single hand position will not suit every wrist. Reduce the load or use a wall-based version if needed; stop if a position causes sharp pain, tingling or numbness.
Further reading: NCCIH · Yoga effectiveness and safety ↗
06 · Study
The hand-and-foot calculation
The notes correctly arrive at 54 + 52 = 106. The hand multiplier is two, regardless of the unclear mark alongside it. The remaining bones belong to the rest of the skeleton; hands and feet do not each represent a whole limb.
Further reading: OpenStax · Bones of the upper limb ↗ · OpenStax · Bones of the lower limb ↗
07 · Study
Try one change, then observe
Stand beside a wall for support. Notice your contact with the floor. Change your stance width slightly and compare your balance, breathing and effort. Let comfort and control guide the choice; there is no score for keeping the feet together.
08 · Study
BMAP: breath, movement, action, pose
The handwritten formula links breath and movement with action and the resulting posture. Use it as a teaching aid, not a rigid physiological law. A clear action cue helps someone explore a pose; it does not guarantee one ideal shape.
Breath: invite comfortable breathing without forcing a count.
Movement: name the direction and an available range.
Action: give one clear, relevant cue.
Pose: pause, observe comfort and offer an alternative.
09 · Study
Ask, explain, demonstrate, observe, adapt
Consent is ongoing and can be withdrawn. Avoid pushing someone deeper to achieve a shape. Confidence grows through clear instruction and a student’s agency, not through forceful correction.
Invite relevant health or access needs privately, without diagnosing or demanding disclosure.
Give a short instruction and an accessible option.
Demonstrate with clear orientation and a visible exit.
Observe breathing, steadiness and the student’s own feedback.
Offer a verbal cue or prop first; ask specific consent before any touch.
From notebook to page
Drawn from the alignment notebook page. The foot sketch and finger labels are expanded into practical teaching explanations; they do not prescribe fixed pressure percentages. Further study: IMG_1864: BMAP and the teaching-method sequence.
Spelling has been standardised and explanations added. Traditional teaching cues, anatomical facts and uncertain handwriting are distinguished in the text. These pages support learning alongside appropriate teaching.